Table of Contents
The final look of custom embroidered patches depends not only on the artwork itself, but also on how well the design is digitized for embroidery and how practical the finishing options are.
From the physical limits of small text and fine lines to the dimensional effect of different embroidery techniques and the right backing choice for each use case, this guide will help you understand the key options and avoid common mistakes before placing an order.
What Are Embroidered Patches?
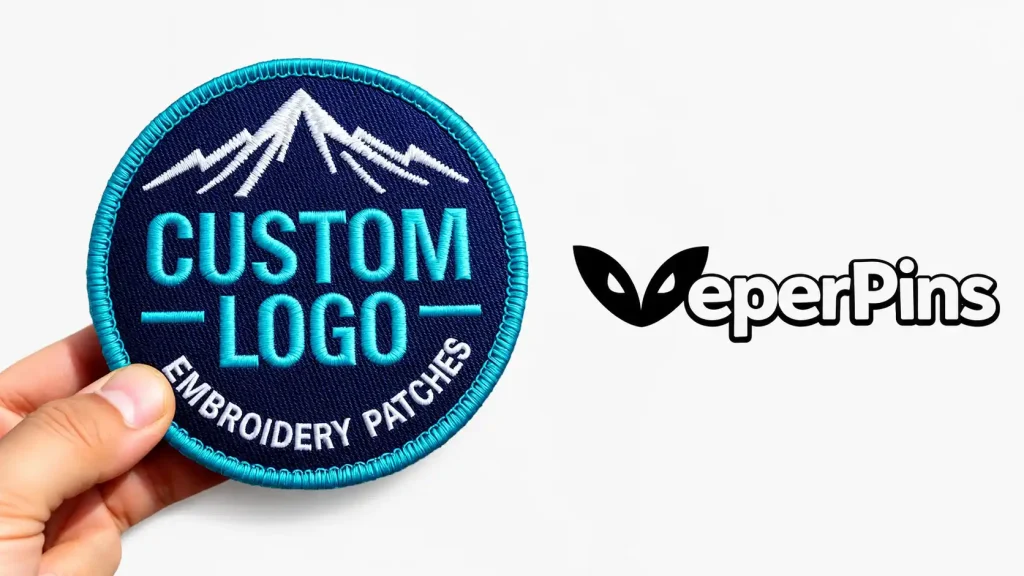
Embroidered patches are one of the most common types of patches. They use thread to create a logo, text, or design on a fabric base, then are cut into the desired shape and finished with a border and backing.
They can be attached to different items by sewing, heat pressing, Velcro, adhesive backing, or a safety pin. Common uses include:
- Uniform sleeve patches
- Company logo patches
- Sports team patches
- School and club patches
- Military, police, and fire department patches
- Hat and jacket decoration
- Backpack, canvas bag, and outdoor gear patches
- Event giveaways and branded merchandise
People choose embroidered patches because they look great, hold up well, and work for both small and large orders. They’re also easy to wear, display, or keep as a lasting keepsake. Compared with stitching a design directly onto clothing, patches are much easier to replace or move to another item.
Common Embroidery Styles for Custom Patches
Different embroidery styles can change the thickness, texture, detail, and overall look of a patch. The best choice usually depends on your artwork, how the patch will be used, and the style you want to achieve.
Flat Embroidered Patches
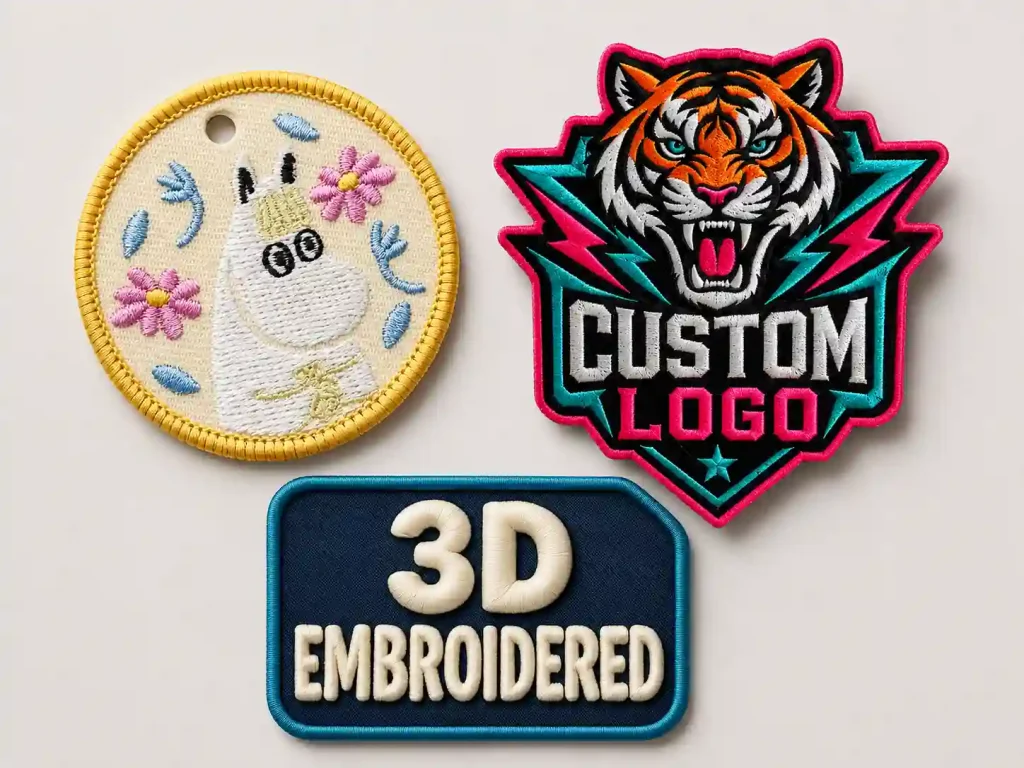
Flat embroidery is the most common and widely used embroidery style. The thread is stitched directly over the design area, creating a clean and smooth surface.
This option works well for most custom embroidered patches, including company logos, school patches, team emblems, uniform patches, and event patches. If your design has clear shapes, readable text, and simple artwork, flat embroidery is usually the most reliable and cost-effective choice.
3D Embroidered Patches
3D embroidery adds foam under selected parts of the design, so the stitched area appears raised. It gives the patch more depth and makes certain details stand out.
This style is often used for bold letters, team names, numbers, hat logos, or key design elements. It is not the best choice for very small text or complicated details. Designs with thicker lines and clear shapes usually work much better with 3D embroidery.
Appliqué Embroidered Patches
Appliqué embroidery uses cut pieces of fabric as part of the design, which are then stitched onto the base fabric. This can reduce the heaviness of large embroidered areas and create a layered look.
It is a good option for large color blocks, vintage-style patches, fashion decoration, varsity-style designs, jacket back patches, and custom embroidered patches with a more distinctive look.
Thick Thread Embroidered Patches
Thick thread embroidery uses heavier thread to make the stitching more visible. The finished patch has a stronger texture and a more handmade or vintage feel.
This style works well for outdoor designs, streetwear, retro patches, branded merchandise, and artwork where the stitched lines are part of the look. If you want your patch to feel less ordinary, thick thread embroidery can add a more unique finish.
Metallic Thread Embroidered Patches
Metallic thread embroidery uses shiny thread to add a bright, more formal look to the patch.
It is often used for commemorative patches, ceremonial patches, club patches, military and public safety patches, premium apparel accessories, or designs that need a more polished finish. Metallic thread can also be used only in selected areas, so the patch does not need to be fully covered with it.
Special Embroidery Effects
Besides standard embroidery styles, some designs can also use special effects such as cord embroidery, decorative stitching, raised details, or a mix of different techniques.
If your artwork is more complex, it is best to send the design or a reference image first. VeperPins can check the details, size, and intended use, then suggest which embroidery methods are suitable and which parts may need adjustment before production.
Why Are Embroidered Patches So Popular?
Embroidered patches have stayed popular for a reason. As demand grows for branded apparel, team uniforms, and custom accessories, the global embroidered badges and patches market is expected to grow from USD 1.38 billion in 2026 to USD 2.05 billion by 2035.
For many customers, embroidered patches offer more texture and a more finished look than regular printed designs. The stitched thread adds depth and dimension, helping logos, team names, and commemorative artwork look more official, durable, and worth keeping.
They are also easy to order in bulk and can be sewn onto hats, jackets, backpacks, uniforms, and team apparel. From schools, clubs, and businesses to military, police, fire departments, and event teams, embroidered patches are more than decoration. They are a long-lasting way to show identity, membership, and team pride.
Create Your Custom Embroidered Patches in 4 Steps
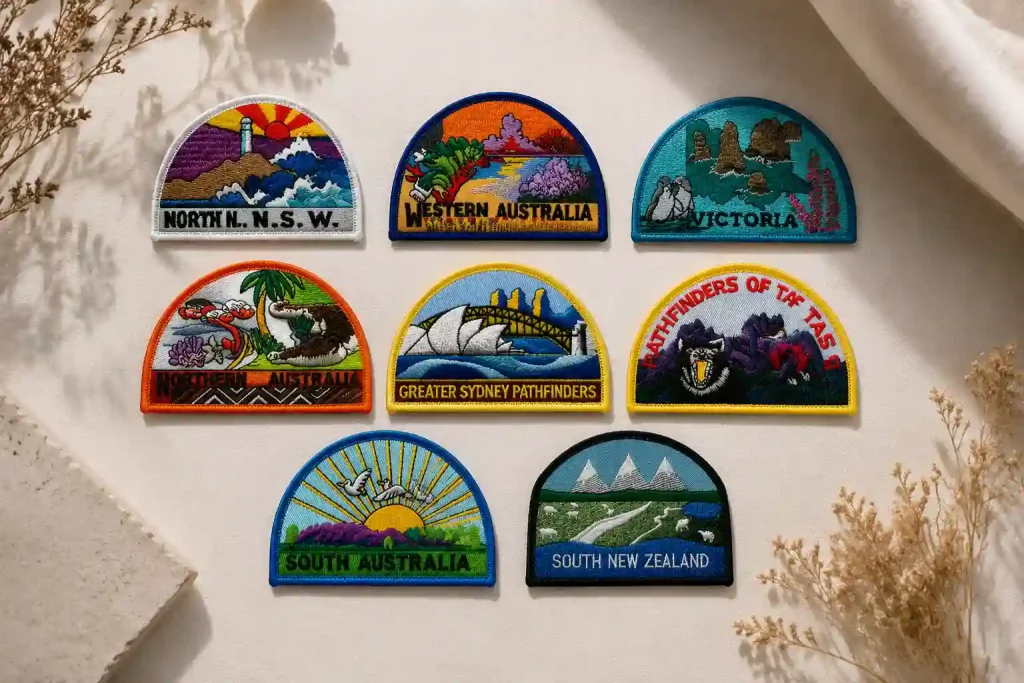
At VeperPins, ordering custom embroidered patches does not have to be complicated. You can send a finished design, or simply share an idea, sketch, or reference image. We will help you confirm the size, shape, border, backing, and production details before moving forward.
1. Decide How the Patch Will Be Used
Before starting the design, think about where the patch will go. The use case can affect the size, shape, border, and backing.
Here are a few questions to consider:
Who will wear or use the patch?
Will it be used on a uniform, hat, jacket, backpack, or event giveaway?
Do you want the style to look formal, vintage, simple, or more eye-catching?
Does the patch need a logo, text, number, date, mascot, or custom artwork?
For example, uniform patches usually need to be clear and professional. Hat patches work better with simpler artwork. Jacket and backpack patches can be larger and often allow for more decorative details.
2. Prepare Your Artwork or Idea
You can send a logo, sketch, reference image, photo of an existing patch, or a short description of what you want. Even if you do not have a complete design yet, you can still tell us what elements you want to include.
For a better embroidery result, keep these points in mind:
Text should not be too small, or it may not be clear on the finished patch.
Thin lines may need to be adjusted because embroidery needs enough width to hold the detail.
Gradients, photos, and detailed shading are generally not suitable for standard embroidery. For small lettering or fine lines, a woven option may be a better fit. See our embroidered vs. woven guide for a quick comparison.
Clear color blocks, thicker lines, and simple artwork usually produce better results.
If your design is too detailed, VeperPins can help simplify the artwork, adjust the layout, and make it more suitable for embroidery.
3. Choose the Size, Border, and Backing
Once the artwork is confirmed, the next step is choosing how the patch will be made. These options can affect the look, use, and price of the finished patch.
Common choices include:
Size: Smaller patches work well for hats, sleeves, and chest patches. Larger patches are better for jacket backs, backpacks, and event patches.
Shape: Round, square, and shield shapes are good for formal patches. Custom shapes work better for brand logos, mascots, and creative designs.
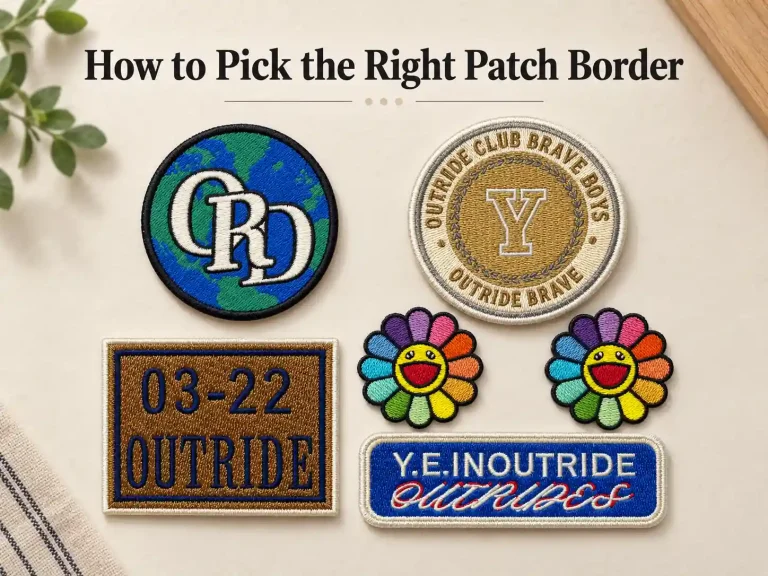
Border: Merrowed borders give a thicker, classic look. Heat-cut borders are better for detailed shapes and custom outlines.
Backing: Sew-on backing is best for long-term use. Iron-on backing is easier to apply. Velcro backing is good for patches that need to be changed often. Adhesive backing is better for short-term use.
If you are not sure which option to choose, you can tell us how the patch will be used. We can recommend a better option based on the placement, fabric type, and how often the patch will be worn or washed.
4. Approve the Proof and Start Production
Before production starts, we will provide a digital proof for you to review. This step helps prevent issues with spelling, colors, size, placement, or layout before the patches are made.
When checking the proof, pay attention to:
Whether the text is spelled correctly.
Whether the logo and artwork are clear.
Whether the colors match your request.
Whether the size, border, and backing are correct.
Whether the overall layout looks right.
If you want to see the physical result before bulk production, you can also request a sample first. This allows you to check the embroidery detail, colors, size, backing, and overall feel before approving the full order.
Once the proof or sample is approved, we will move into production. The patches will go through embroidery, trimming, backing application, quality checking, and packaging to make sure they are clean, sturdy, and ready for uniforms, hats, jackets, backpacks, team apparel, or event use.
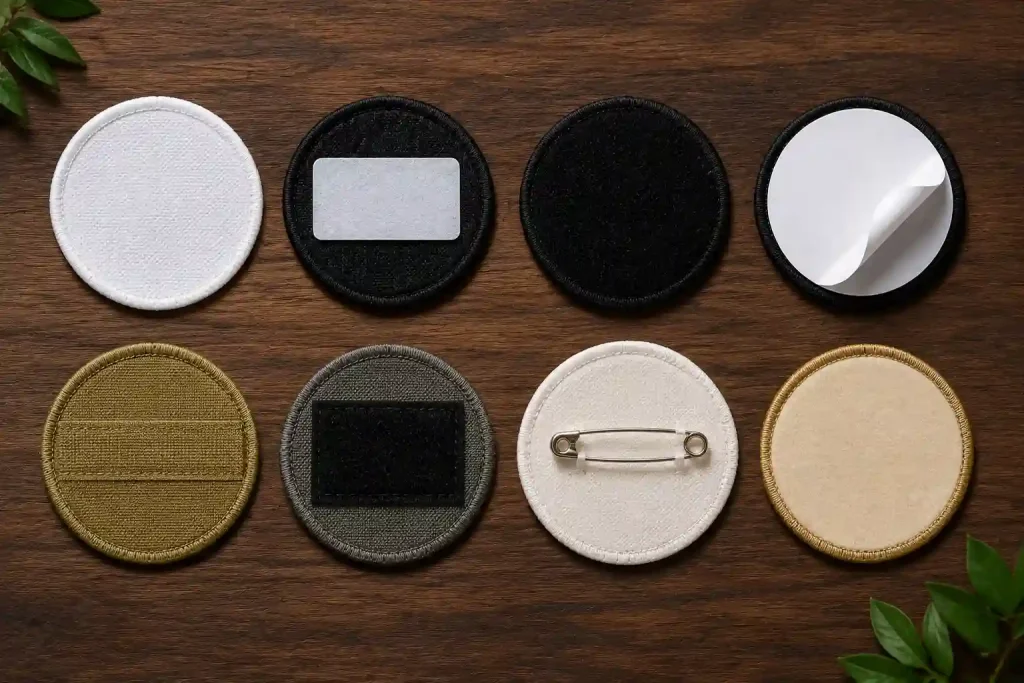
Backing Options
Choose the backing based on how the patch will be used, washed, or removed.
Sew-On Backing
Best for long-term use on uniforms, jackets, backpacks, and workwear. It is the most secure option, especially for items that will be washed often.
Iron-On Backing
Easy to apply with heat, making it a convenient choice for clothing, team apparel, and merchandise. For frequent washing, adding a few stitches helps it stay in place.
Velcro Backing
Good for patches that need to be removed or changed often, such as tactical patches, work uniforms, name patches, and event IDs.
Adhesive Backing
A peel-and-stick option for short-term use, displays, packaging, conferences, and events. It is not washable and not meant for long-term wear.
Safety Pin Backing
Useful for temporary wear, volunteer badges, race patches, trade shows, and canvas bags. It can be removed easily without sewing or ironing.
Not sure which backing to choose? Tell us where the patch will be used, and we’ll help you pick the right option.
Patch Care Tips
Using iron-on backing? Apply it to cotton, denim, canvas, or other heat-friendly fabrics. Press with a thin cloth over the patch, then give it some time before washing or pulling on it.
If the patch will be washed often or used on a bag, jacket, or uniform, sewing is the safer choice. You can also iron it on first, then add a few stitches around the edge for extra hold.
To keep the patch looking good, wash gently with cold water and avoid high heat, long soaking, or rough scrubbing.
Work with VeperPins to Create Embroidered Patches That Fit Your Needs
Custom embroidered patches are not just about turning a design into a patch. The finished patch also needs to be clear, durable, and suitable for how it will actually be worn or used.
At VeperPins, you can send us a logo, sketch, reference image, or even a simple idea. Based on your use case, we’ll help confirm the right embroidery style, size, border, and backing option, so your patches work well for uniforms, hats, jackets, backpacks, team apparel, or event giveaways.
Submit your request through our online form, and we’ll help check the details and provide a quote to make the ordering process easier and clearer.