Table of Contents
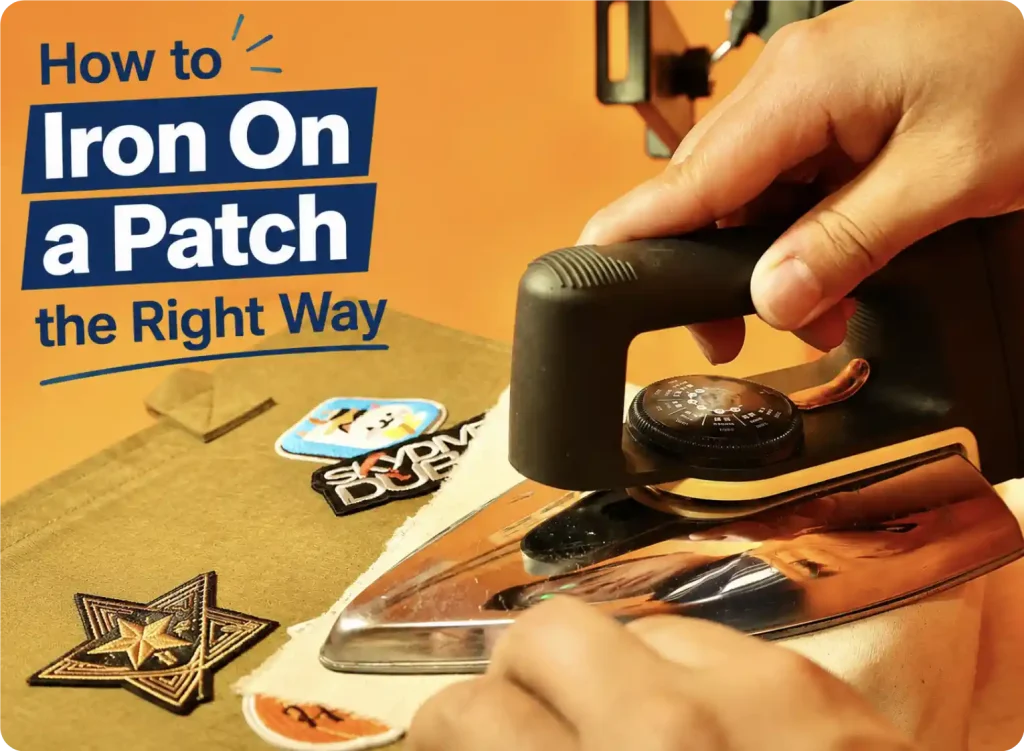
Custom iron-on patches are an easy way to personalize clothing and accessories. You can use them on jackets, jeans, backpacks, workwear, and plenty of other fabric items.
But getting a patch to stick properly takes a little more than just pressing a hot iron on top. Too much heat can damage the fabric, while not enough heat or pressure can leave the patch peeling at the edges.
Here’s how to iron on a patch the right way, step by step.
Before You Start, Make Sure Your Patch Can Be Ironed On
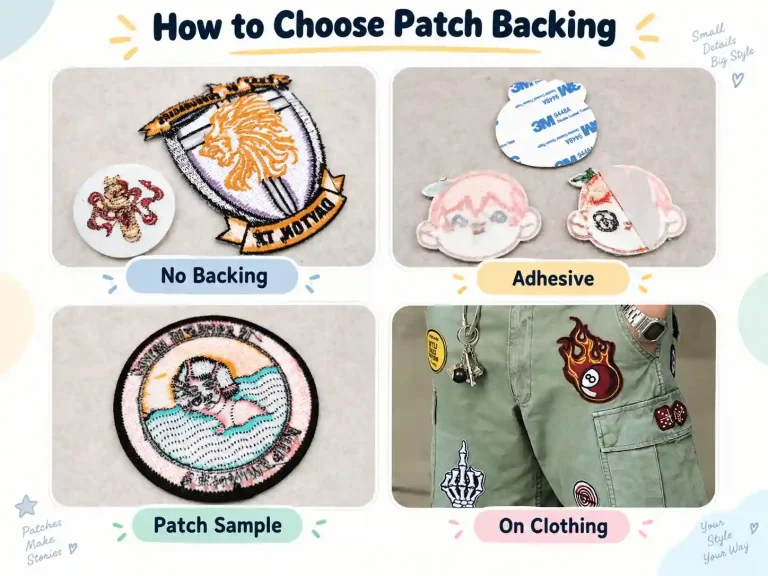
Not every patch can be applied with an iron. Whether it will work mostly depends on the backing.
If it has an iron-on backing, there will be a layer of heat-activated adhesive on the back. Once heated, the adhesive softens and bonds to the fabric. Embroidered, woven, and printed styles can all be made this way.
The material matters too. PVC, rubber, and other heat-sensitive options usually should not be pressed with a regular iron. Sew-on or Velcro attachment is often a better choice for those.
Leather also needs a little more care because it is more sensitive to heat. You generally should not use the same temperature and pressing time you would use for a standard embroidered patch.
Before you begin, check two things: what kind of backing it has and whether the material can handle the heat.
What You’ll Need to Iron On a Patch
Before you start, make sure you have:
- An iron-on patch
- A household iron
- The clothing or fabric you want to apply it to
- A thin cotton cloth or pressing cloth
- A flat, heat-resistant surface
Before using the iron, turn off the steam and use dry heat. Place a thin cloth over the patch before you start pressing. It’s also best to work on a firm, flat surface rather than a bed, couch, or anything too soft, so you can apply steady pressure.
How to Iron On a Patch: Step by Step

Step 1: Prepare the Garment
Wash and dry the garment first, then lay it flat on a heat-resistant surface. Place the patch where you want it, with the adhesive side facing down, and turn off the steam setting on your iron.

Step 2: Cover and Press
Place a thin cotton cloth or a piece of white paper over the patch to keep the iron from touching it directly and causing scorch marks or making the adhesive brittle. Set the iron to the right temperature for the fabric, then press down firmly for about 15–30 seconds.

Step 3: Check the Edges
Lift the iron and check whether the edges are lying flat. If any part is lifting, press those areas again a few times to help secure them.

Step 4: Let It Cool Before Testing
Wait until the patch has completely cooled before touching it or checking whether it has bonded properly. Moving it while it is still hot can make it come loose.
💡 A Few Quick Tips
Thick Patches
If the patch is pretty thick, turn the garment inside out and press it from the back a few more times. That helps the adhesive stick better.
Patches With Sequins or Metallic Thread
Don’t press these too long from the front. Start from the back to get the patch in place, then lightly go over the edges from the front if needed.
Keep It From Peeling
If the garment gets washed a lot, it’s a good idea to add a few stitches around the edge after ironing. It’ll hold up better over time.
No Iron?
For smaller patches, a hair straightener can work too. Just heat and press the area a little at a time.
All Done
Once the patch has cooled completely and you’ve checked that it’s firmly attached, the garment is ready to wear.
Now you know how to iron on a patch. It doesn’t take much—just the right heat, enough pressure, and a little patience.
That’s it. Put it on and enjoy the new look.
Want Patches You Can Iron On?
If you’re ordering custom patches, you can choose an iron-on backing. VeperPins can check the material, size, and intended use to make sure it’s the right option.