Table of Contents
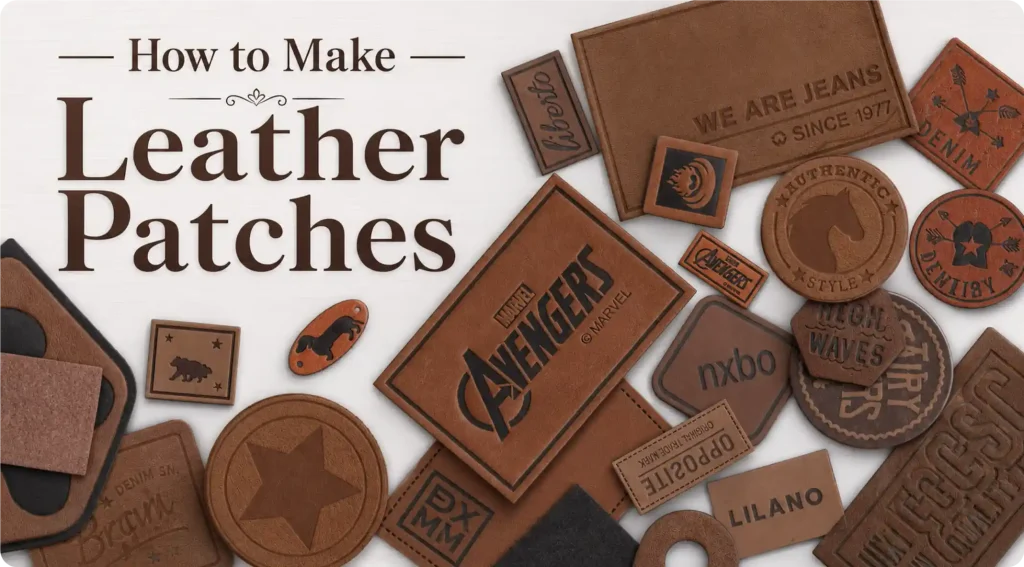
A well-made leather patch does not need to shout to stand out. It carries weight in a quiet way. Whether it is stitched onto a rugged denim jacket or placed on the pocket of a tailored blazer, it adds texture, character, and a more finished look.
In this article, we will walk through how leather patches are made and what to keep in mind when ordering custom ones.
What Are Leather Patches?
Leather patches are decorative labels made from genuine or faux leather. They can be customized with a logo, text, artwork, or brand name through debossing, embossing, foil stamping, laser engraving, or printing.
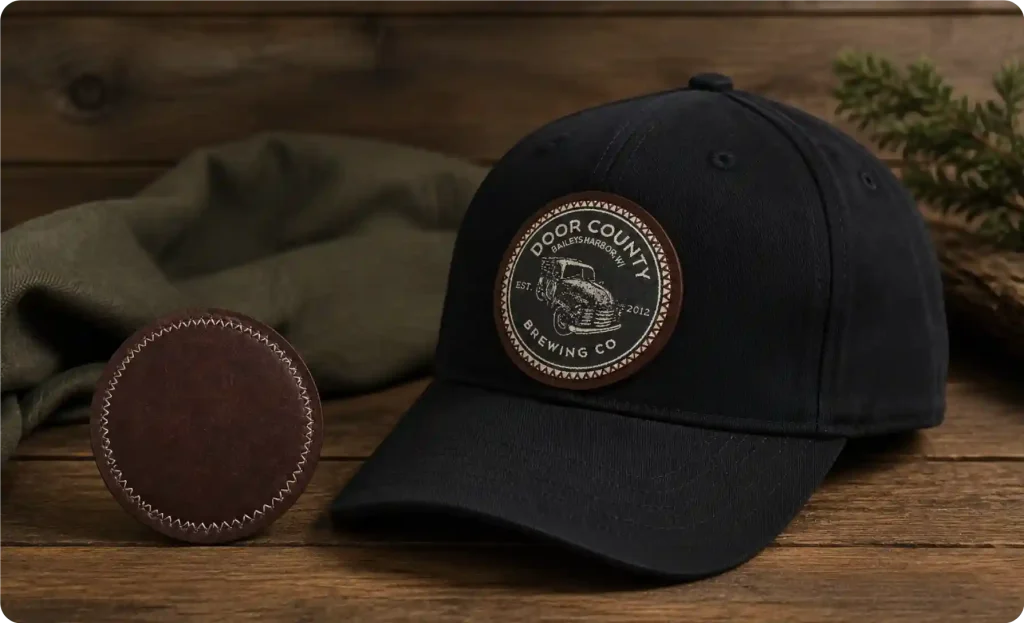
Compared with a simple woven or printed badge, this type of patch has more depth, texture, and weight. It feels more substantial in the hand and gives products a more crafted, premium look. You will often see them on jeans, hats, jackets, bags, handmade goods, packaging, and branded merchandise.
For many brands, a custom leather label is more than a logo. It is a small detail that makes the final product feel more intentional, polished, and memorable.
Not sure which patch type is right for you? View our detailed guide.
Features of Leather Patches
- Better texture:
These patches have a real surface feel. Raised or recessed details add more depth and make the design look more refined than a flat print. - They age well:
Genuine leather develops character over time. The color may deepen, and the surface may take on a natural shine. Instead of looking worn out, it often looks better with use. - Durable for daily use:
They hold up well on clothing, hats, bags, and accessories. Compared with many fabric labels, they feel more substantial while still staying soft and comfortable. - A more elevated look:
Natural grain, pressed details, and a handmade feel give each piece a classic, vintage, and more considered appearance.
How to Make Leather Patches
Step 1: Start With Your Design
A good leather patch starts with more than a logo. Before production, the artwork needs to work with the material, size, mold, backing, and the product it will be attached to.
The design stage is usually about making a few practical choices first.
Decide the Style and Purpose
Think about the look you want and where the finished piece will be used.
Do you want a rugged, vintage feel with deep pressed details? Or do you prefer something cleaner, with foil stamping, fine engraving, or a smoother finish?
The final use also matters. A label for jeans may need extra space around the edge for stitching. A hat patch may need a size that sits well on a curved surface. If it is going on packaging, adhesive backing may be more useful than sew-on backing.
Check the Artwork Details
Simple logos, bold text, and clean line work usually produce the best results. If the design includes very small text, thin lines, or detailed illustrations, the production method becomes more important.
Debossing and embossing are good for clean raised or recessed effects. Laser engraving works well for fine details. Foil stamping can make logos, borders, or lettering stand out. Printing is better when the design needs multiple colors or artwork that cannot be made with pressed details alone.
Prepare the File for Production
A design for this type of product is different from a flat paper print. It has to work with pressure, heat, surface texture, and sometimes a custom metal mold.
Lines should not be too thin, and small gaps should not be too tight. During heat pressing, tiny details may become less clear if the artwork is too crowded.
It also helps to decide which areas should be raised, recessed, printed, foiled, or left flat. Clear artwork makes the mold easier to make and helps the finished piece look closer to the proof.
Choose the Shape and Edge
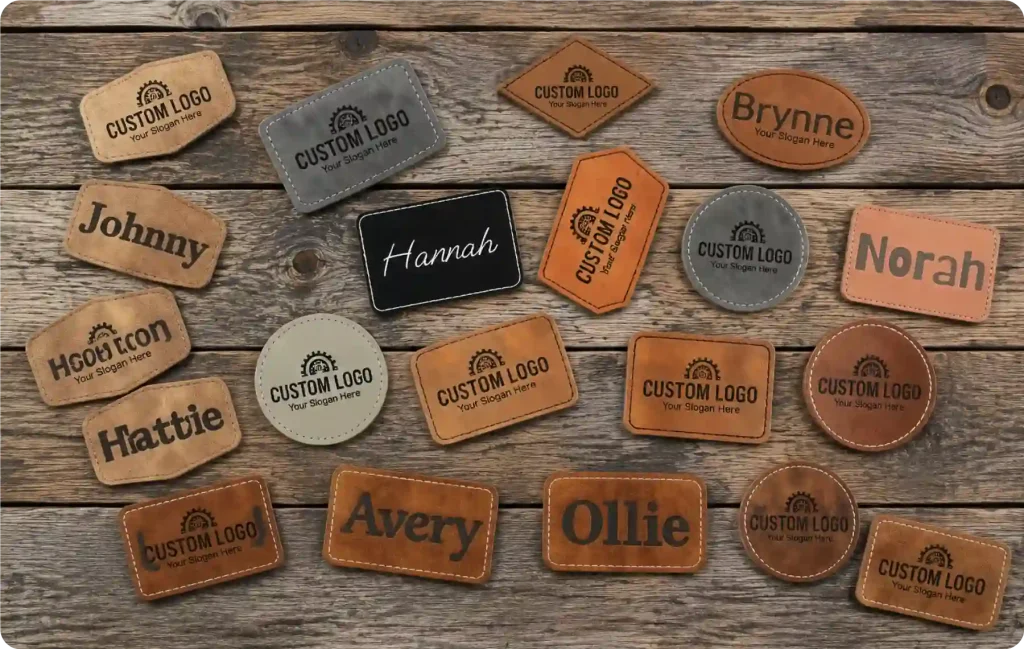
Round, oval, shield, square, and rounded-rectangle shapes are common choices. They are easy to use on clothing, hats, bags, and packaging.
Custom-cut shapes are also possible, but they may need a more detailed cutting die. If the design will be sewn on, leave enough room around the edge for stitching or stitch holes.
Approve the Final Details
Before production, send the clearest artwork file you have. AI, PDF, SVG, or CDR files are best, but a high-resolution JPG or PNG can also be used for checking first.
If you already have a material color, foil color, finish, or reference sample in mind, include it with your artwork. This makes it easier for the factory to understand the look you want.
For larger orders, a physical sample is useful. It lets you check the real color, surface feel, impression depth, edge finish, and overall look before full production starts.
Step 2: Get a Quote and Digital Proof
Once your design is ready, or even if you only have a rough idea, you can send it to the supplier for review.
The quote is usually based on the size, quantity, material, process, backing, and how complex the artwork is.
What to Send for a Quote
To get a more accurate price, it helps to include:
The size you want
The order quantity
The material preference, such as genuine or faux leather
The process you want, such as debossing, embossing, foil stamping, laser engraving, or printing
The backing option, such as adhesive, stitch holes, or sew-on backing
Any color references, sample photos, or special finish requests
Review the Digital Proof
After the details are confirmed, the supplier will prepare a digital proof.
The proof usually shows the size, layout, shape, artwork placement, colors, process areas, and backing details. Check everything carefully before approving it.
Production should only begin after the proof looks right.
Step 3: Start Production
After the proof is approved and the order is paid, the factory will move into production. Here is a simple look at how VeperPins makes leather patches.
Cutting the Material
The material is cut into the approved shape and size using a cutting die and press.
Common shapes include circles, rectangles, shields, ovals, and custom outlines. The cutting step helps make sure each piece is consistent before the design is added.
Pressing the Design
Each piece is placed into a heat press. A custom metal mold is used to press the design into the surface.
This step creates the raised or recessed details. If the design includes gold or silver foil, the foil is usually applied during this process.
Finishing the Edges
After cutting, the edges may still look raw. Edge paint can be applied, and the edges are smoothed for a cleaner finish.
This makes the final piece look more polished and helps it hold up better during daily use.
Quality Checking
After finishing and drying, each piece is checked before packing.
The team looks at the impression depth, artwork placement, surface condition, color, edge quality, and backing. Any pieces with obvious issues are removed before the order is shipped.
Adding the Backing
The backing depends on how the product will be used.
Adhesive backing works well for packaging and flat surfaces. Stitch holes or sew-on backing are better for clothing, hats, bags, and accessories that need a stronger hold.
Step 4: Shipping and Final Check
Once production is finished, we will confirm the shipping address with you and send the order by FedEx, DHL, UPS, or another suitable carrier.
Check the Order After Delivery
After receiving your order, check the quantity, size, color, finish, backing, and overall look before attaching the pieces to your final products.
This final check helps make sure everything is ready before the labels are sewn, applied, or added to packaging.
Things to Consider When Ordering Leather Patches
1. Choose the Right Material
Full Grain Leather
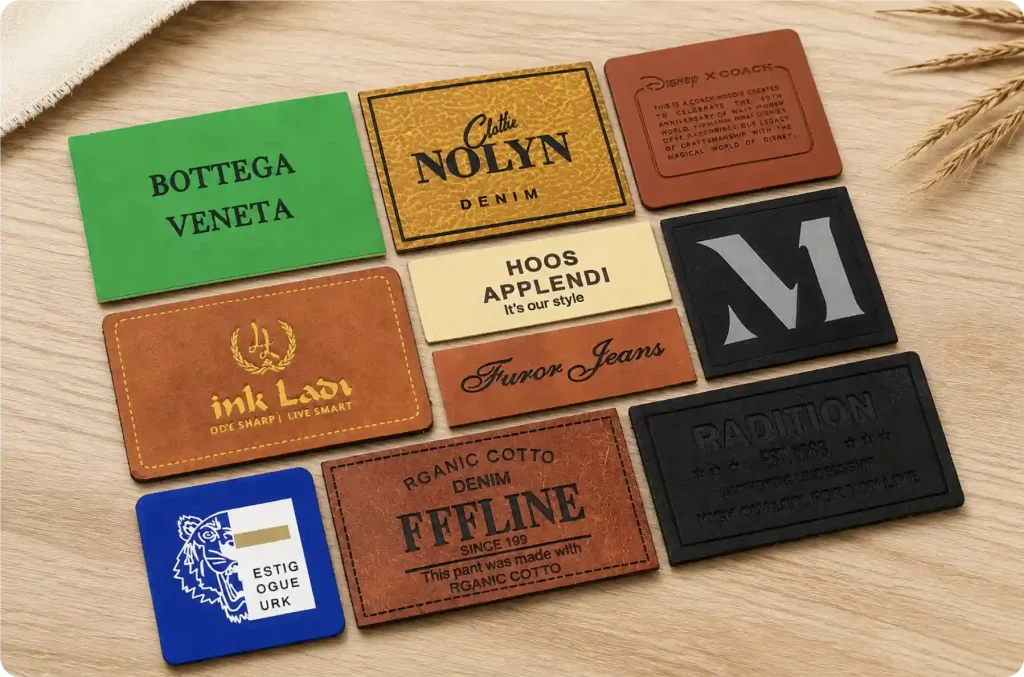
Full grain leather keeps the natural grain and texture of the hide. It has a richer surface feel and develops more character as it ages, making it a good choice for brands that want a premium, long-lasting look.
Top Grain Leather
Top grain leather has a smoother and more consistent finish. It offers a clean appearance while still keeping a quality feel, so it works well for many branding, apparel, and accessory projects.
Genuine Leather
Genuine leather is a more budget-friendly option. It can work well for standard custom orders, especially when you want a real leather look without choosing the highest-grade material.
PU or Vegan Leather
PU and vegan leather are non-animal options with stable color, easier maintenance, and better water resistance. They are practical for bulk orders, controlled budgets, or projects that need a more consistent finish.
2. Pick the Right Process
Debossed or Embossed
Debossing and embossing are classic choices for logos, text, and simple artwork. They create a clean raised or recessed effect without making the design look too busy.
Gold or Silver Foil Stamping
Foil stamping adds a metallic highlight to the surface. It works well for brand names, borders, initials, and small details that need a more polished look.
Printing
Printing is a better option when the artwork includes multiple colors, gradients, or detailed images. It gives you more design freedom, but the printed surface may not handle rubbing as well as pressed or engraved details.
Laser Engraving
Laser engraving is useful for fine lines, small text, textures, and personalized details. It is also a good choice for small-batch orders or designs that need a precise, clean finish.
3. Check the Edge and Backing
The edge should feel smooth and finished, not rough or sharp. A clean edge makes the final piece look more complete and helps it hold up better during use.
If you need adhesive backing, confirm whether it is peel-and-stick and what kind of surface it is suitable for.
If the piece will be sewn onto clothing, hats, bags, or accessories, check whether stitch holes are needed or whether it can be sewn directly through the material.
4. Confirm the Size
Do not choose the size by guessing. Use a ruler, print the design at actual size, or place a paper mockup on the product to see how it looks.
Most leather labels are around 2 to 4 inches wide, depending on the final use. Hat and clothing designs are usually smaller, while bag labels, packaging details, and larger brand pieces can use a bigger size.
5. Notes for Custom Orders
Before placing an order, check which file formats are accepted. AI, PDF, SVG, and CDR files are usually best for production. If you only have a clear PNG or JPG, you can still send it first for review.
It is also worth asking about sample time, production time, and shipping time. Custom work takes a little planning, so it is better not to wait until the last minute.
With genuine leather, natural grain and color variation are normal. Each piece may look slightly different, and that variation is part of what gives the material its character.
6. Care Tips
Avoid soaking genuine leather in water or leaving it under strong sunlight for long periods.
If the surface gets dirty, wipe it gently with a dry cloth.
For areas that will get a lot of rubbing or movement, sewing or stitch holes are usually more secure than adhesive backing alone.
Start Your Custom Leather Patch
You do not need to be a professional designer to start a custom order. Just send us your idea, logo, size, and quantity. Our team can help you choose the right material, production method, and backing, then prepare a digital proof and quote for your review.
Whether it is for clothing, hats, bags, packaging, or branded merchandise, a well-made label can make the whole product feel more complete. Turn your logo, name, or idea into a durable detail that looks good and feels made for your brand.
Leather Patch Questions
Here are a few common questions customers ask before placing a custom order.
Should I choose sew-on or adhesive backing?
If the patch will be used on clothing, hats, or bags, sew-on backing or stitch holes are usually more secure. Adhesive backing is better for packaging, boxes, gifts, or surfaces that do not get much rubbing.
Can leather patches be washed?
Genuine leather should not be soaked in water or washed often. If the surface gets dirty, gently wipe it with a dry cloth. For products that need frequent washing, PU leather or another patch type may be a better choice.
What size should I choose?
Most leather patches are around 2 to 4 inches wide. Hat and clothing labels are usually smaller, while bag labels, packaging pieces, or larger brand details can be made bigger.
Which process is best for my design?
Debossing and embossing work well for simple logos and text. Laser engraving is a good choice for fine lines and small details. Foil stamping adds a metallic highlight, while printing is better for colorful artwork.
Can I order if I only have a logo image?
Yes. You can send us a JPG, PNG, PDF, AI, or SVG file first. Our team will check the artwork and let you know if it is ready for production or needs small adjustments before making the proof.


